Do I need to weld anything?
No welding, no cutting, no guesswork. Completely bolt-on design — if you can use a wrench, you can install this.
INSTALL NOTES:
Tools Needed: floor jack , jack stand , big crescent wrench or plumbers wrench, 18mm socket, 21 mm socket or open wrench , 19mm socket , socket driver, bungee or strap. Possibly 22mm socket Some of the oem bolt heads I’ve notice where different size! Torque wrench or just send it 😅😂!
I will get a video and pictures for this install notes below in the very near future. But if you used the video from gen3 tundra it will be the same!
read all the steps first before you start easiest to install will be when it’s on its own weight. If you have it hanging on a lift. It’s so much harder.
1: it’s best to get the bracket side of the axle on a jack stand/ hydraulic jack. So jack up truck so you have light just under the tire! Take tire off and secure under body just in case of jack failure.
2. Loosen the drivers side track bar bolt but don’t unbolt it.
3. Now unbolt the bolt on the axle side for the track bar. Swing the track bar up and out of the way and strap it up while you install the BOTCK.
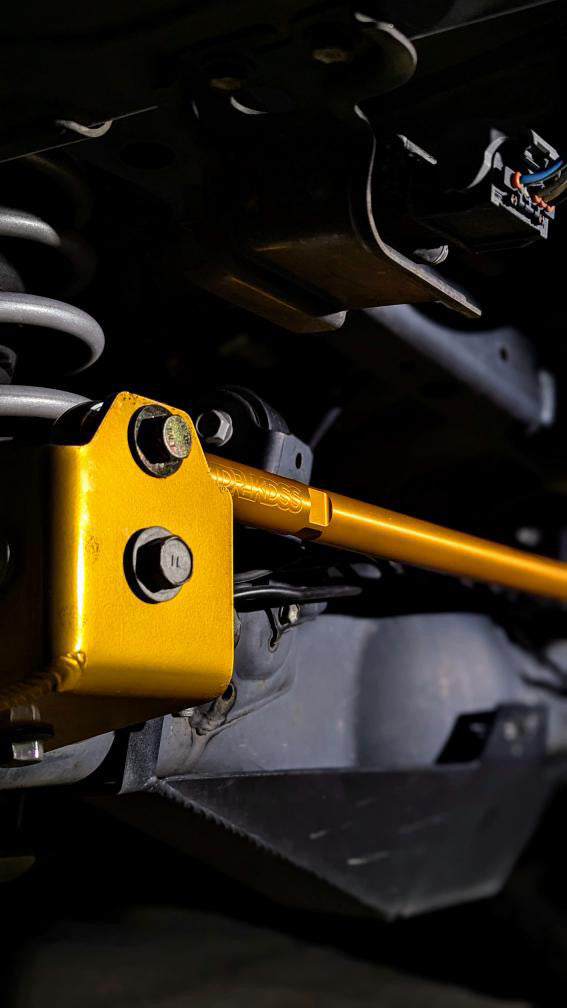
4. Insert the back bracket that goes into the oem pocket. It has the long welded sleeve attached to it as well as a nut welded to the small bent part of bracket. You may need to slightly massage the oem bracket to make the opening bigger. Use a big crescent wrench or plumbers wrench.
5. Insert the small flag nut ( coffin shaped looking bracket with welded nut) into the oem bracket from the bottom opening with the nut facing up! Try to line the nut up with where you think the main bracket hole will line up to that once you install main bracket.
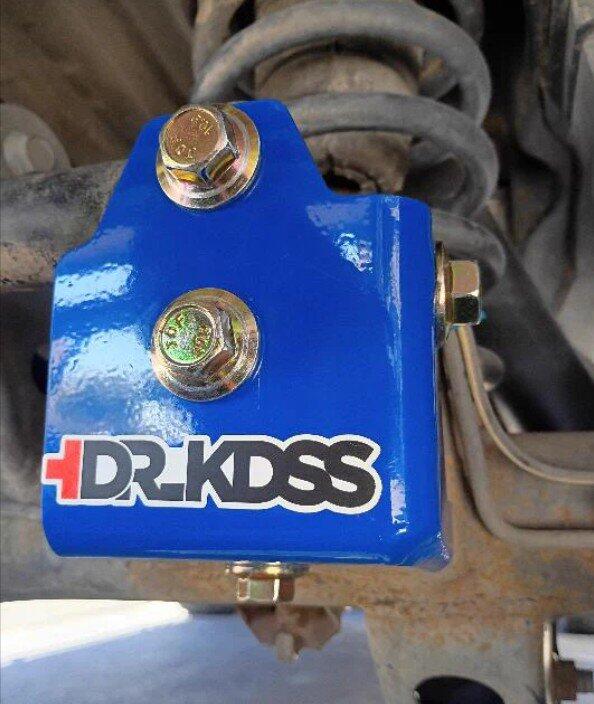
6. Now take the main bracket and the longest bolt I provide and install the main bracket covering the whole oem mount. Just do 3-4 turns on main oem bolt hole to start.
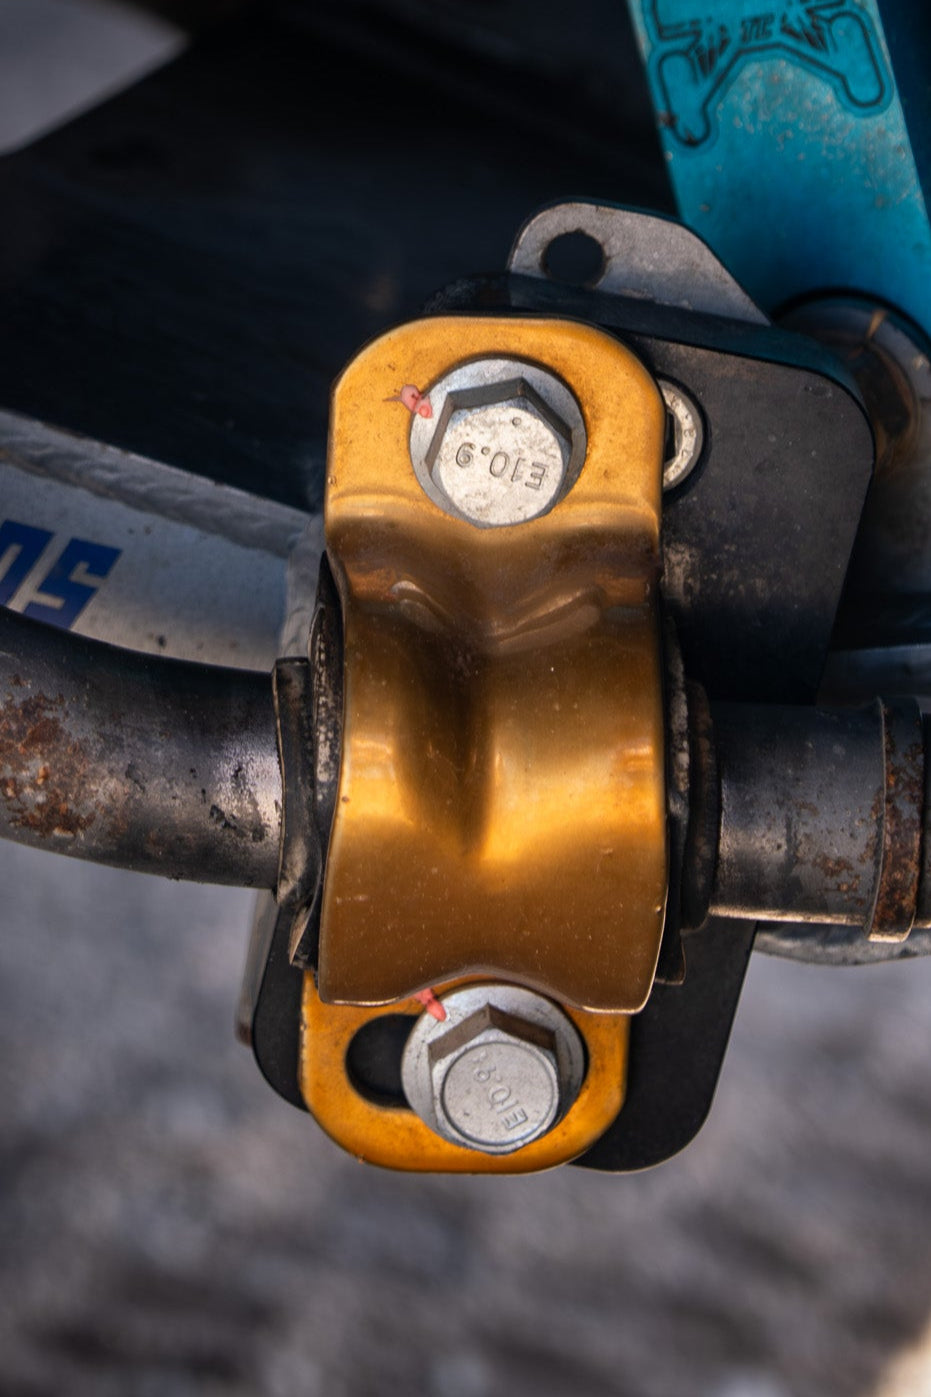
7. take one of the provided 35mm bolts and start to thread it into the flag nut that is on the underside. 3-4 turns to start.
8. Take the other provided 35mm bolt and thread it in 3-4 turns into the side of the botck.
9. Now take the 75mm bolt with nut and drop the track bar into the botck and manipulate the bracket how you need to to get the bolt in and track bar installed. If you are still having a hard time aligning it. Lower or raise the hydraulic jack to help align the track bar and bracket. Once it’s it start to tighten.
10. Tightening sequence is : oem bolt hole location first at 110lbs. Side or bottom bolt next. Both at 125lbs. Main track bar bolt with nut 125lbs. Use blue loctite at all locations.